
This article will teach you how to work from home with Avid Media Composer. It shows you how to transfer your license from your office computer to home computer and how to keep your external hard drive organized with Avid Projects and AvidMediaFiles Folders so when you go back to the office you can put everything back together properly.
If you’re reading this because of COVID-19, Avid just announced on Friday March 13, 2020 that starting Monday March 16, 2020 they’ll be providing free 90-day licenses. Kudos to Avid! There’s going to be more info on the Avid Editors of Facebook group.
Transfer Avid Media Composer License
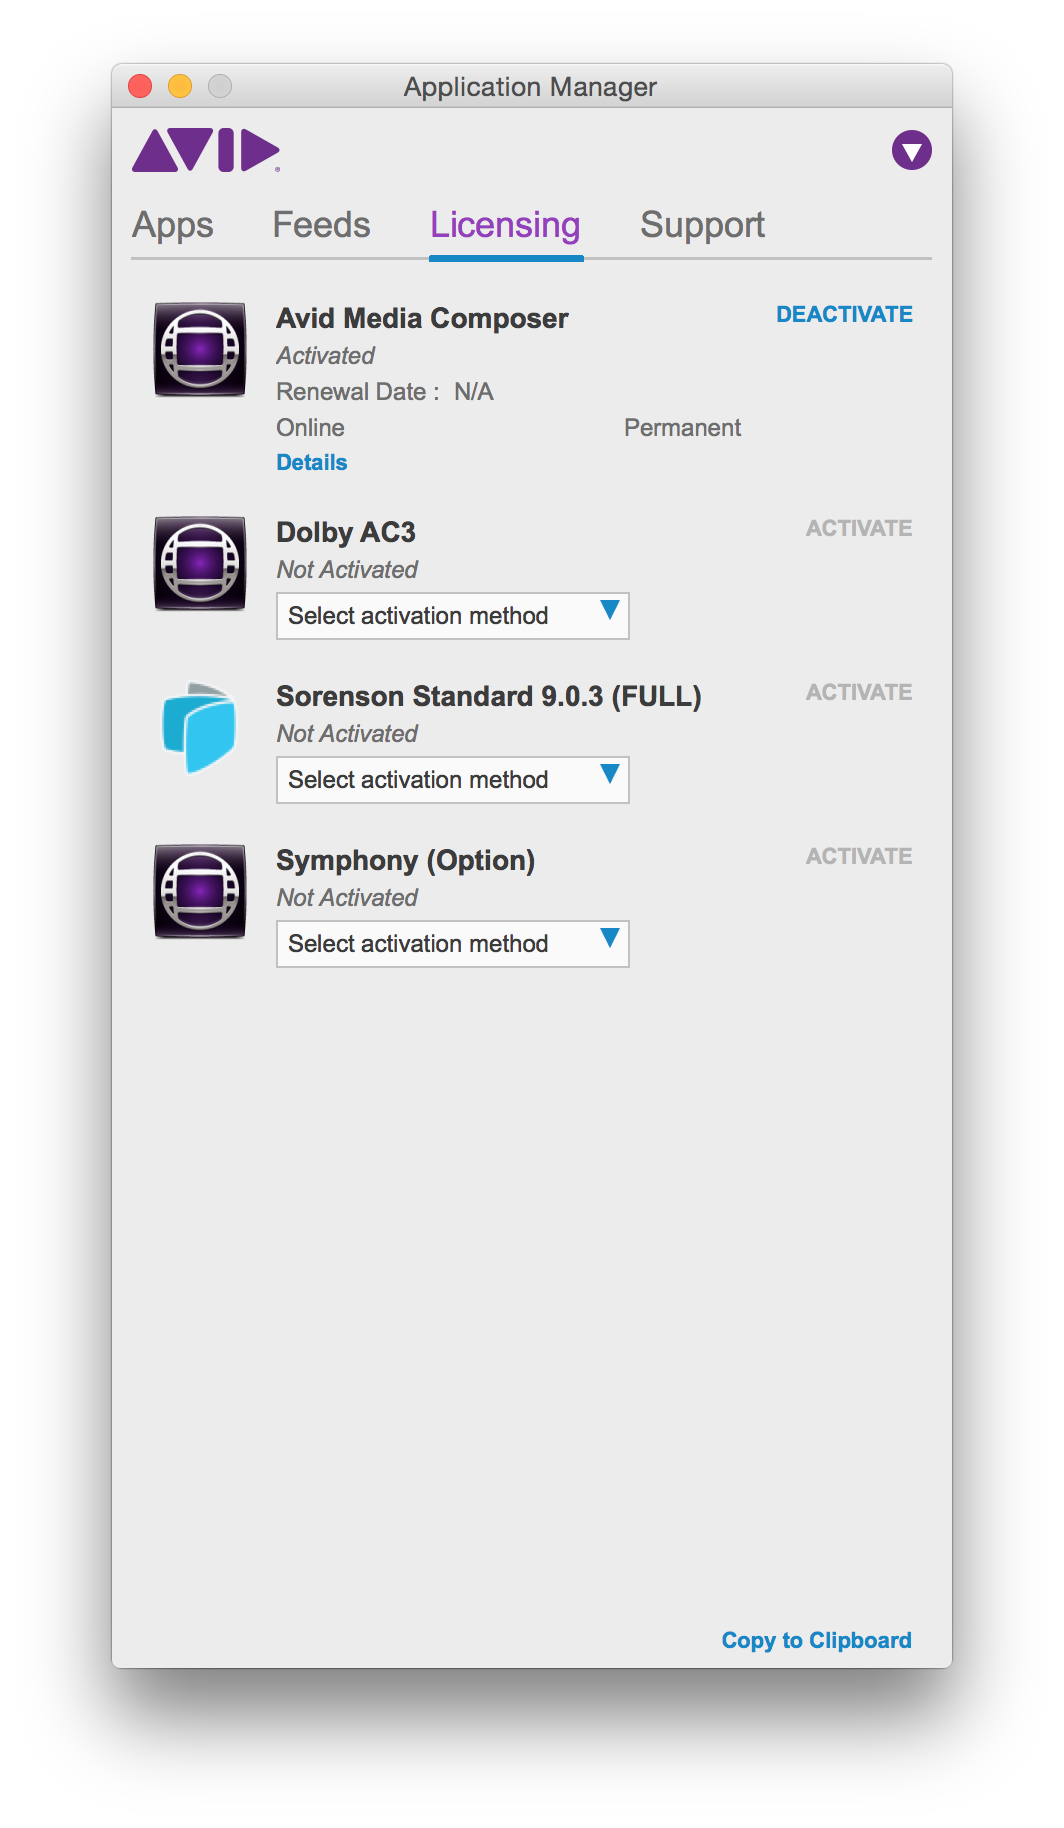 In order to work from home you need a copy of Media Composer installed on your home computer. If you have your own license, perfect. Move onto the next section. If not, the easiest way will be if you are running Media Composer version 8.x+ and have the Application Manager installed. What you do is open that up, go to the Licensing tab and deactivate your version of Media Composer on your work computer. Remember your System ID and Activation ID!!!! Then you go to your home computer and in the Application Manager activate Media Composer with your work license’s System ID and Activation ID.
Remember before you go back to the office to deactivate Media Composer from your home computer! Sorry if it seems like I’m yelling… I just don’t want you to lose your license credentials and/or be locked out of your system when you go back to the office.
External Hard Drive
You’re gonna need an external hard drive to get your projects and media back and forth. I recommend this external hard drive. It’s what I’ve been using for the past two years and I’ve been using Fantom for close to five years.
On your hard drive you’re going to have to worry about two things: 1) Projects and 2) Media.
Projects
With projects we have two methods. I’ll name them full replace and bin swap.
The full replace method – Copy the project(s) you need to take home to your hard drive. When you go back to the office the next day replace the folder at work. You might want to keep that work project around until you can confirm your home project works fine.
The bin swap method – Copy the project(s) you need to take home to your hard drive. Work out of two bins at home. Those bins are Home Sequences and Home Clips. The sequences you work on go in the Home Sequences bin and all the clips you create go in the Home Clips bin. When you go back to work copy just these two bins into your project. Once you do the actions laid out in the next section you’ll move the sequences and clips into their proper places in the work project and delete these bins.
Side note #1: You can find your projects under Documents > Avid Projects on both Mac and PC. This is the default storage for projects.
Side note #2: I like the bin swap method better.
Side note #3: Your new media will be offline until you do what is outlined in the next section.
Media
Move all the media for the projects you want to work on onto your hard drive.
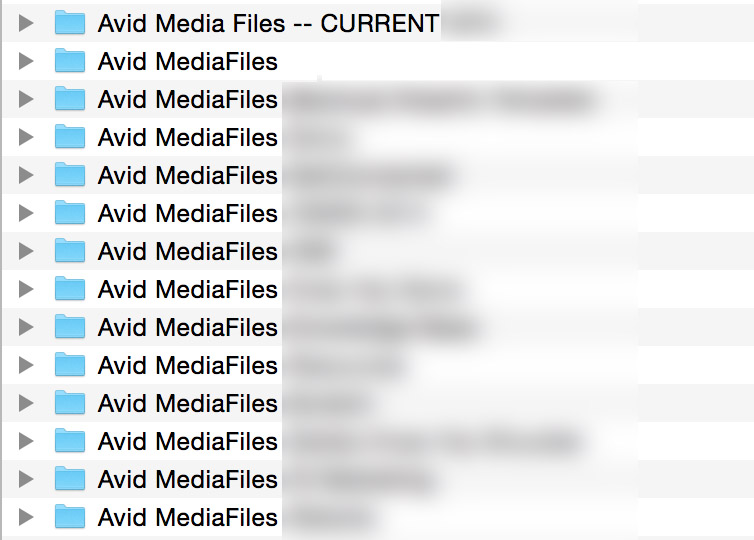
Create an empty folder called Avid Media Files – CURRENT [PROJECT NAME]. This folder remains empty, it’s just so you know what media is in your Avid MediaFiles folder. You should move the Avid MediaFiles folder with the media you want to bring home onto the root level of your hard drive. This is because Media Composer only sees media in the folder structure that is exactly Avid MediaFiles > MXF > 1. The 1 can be named other things but I recommend sticking with 1.
The process is the same if you have OMFI MediaFiles folders. All the other Avid MediaFiles folders have the project name after it. This media won’t be seen by Media Composer. When it’s time to switch projects, add the project name to the Avid MediaFiles folder, rename the Avid Media Files – CURRENT [PROJECT NAME] folder, and remove the project name after it’s Avid MediaFiles folder. Make sense?
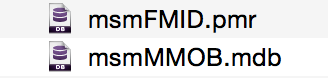
When you go back to the office go to Avid MediaFiles > MXF > 1 folder of all the project’s media folders you worked on. Sort by Date Created. Everything you created at home the day before should be listed there. Take those MXF files and copy them onto your work drive. Then you must delete the msmFMID.pmr and msmMMOB.mdb files on your work drive before opening up Media Composer. The clips from your Home Clips bin will reconnect. For a greater in-depth tutorial on how and why you’d do this you can check out this post I wrote a couple weeks ago.
Putting it all together so you can work from home with Avid Media Composer
There are four keys to being able to work from home.
- You need a license for Avid Media Composer
- Get an external hard drive
- Load projects onto drive and put project or bins back into the work project
- Get media onto drive, get new media back onto the work drive then reconnect it
That’s it! Get these four steps down and you should be well on your way to editing in athletic shorts and a tee shirt until late in the afternoon.
Do you work from home with Avid Media Composer? If so, I’d love to hear if you do anything different in the comments.
As always please reach out to me if I can help you in any way with Media Composer, video editing or really just anything.
Please note that some of the links above for products are affiliate links. All that means is that if you purchase that product or another product through that link I will get a small commission. It will not cost you a penny more and I might be able to pay for a fraction of a pint this weekend. This is a very common practice but most people are too shy to disclose this information. You can read my stance about this here.
Sorry, but this statement is bad advice:
“Create an empty folder called Avid Media Files – CURRENT [PROJECT NAME]. You should create/move an Avid MediaFiles folder.”
Do not do that. As you state in the same paragraph, linking to my blog post about the topic, the file structure must be EXACTLY as follows: HARD DRIVE>Avid MediaFiles>MXF>Numbered folders. You cannot create a folder called MY PROJECT inside the Avid MediaFiles Folder, and in there have MXF and numbered folders. Avid will not see the media. It must be exactly as mentioned…
BUT, you can add a project name after the number if you want to separate the media that way. Just know that any new media will not go into that folder…it’ll go into the “1” folder. And you’ll have to move it afterwards. And the media libraries will not update in the named folders, unless you make them simply numbers again.
Hey Shane! You’re exactly right. I was unclear when I was describing how to do this. Looks like I missed a step saying that the Avid MediaFiles folder is a completely different folder and is on the root of the drive.
Create an empty folder called Avid Media Files – CURRENT [PROJECT NAME]. This folder remains empty, it’s just so you know what media is in your Avid MediaFiles folder. You should move the Avid MediaFiles folder with the media you want to bring home onto the root level of your hard drive. This is because Media Composer only sees media in the folder structure that is exactly Avid MediaFiles > MXF > 1.
Thanks for helping!
As far as other NLE’s – Edius is easy – just copy the project folder/media to an ext. HDD and open it when you get home – If the media resides in the project folder then there is no need to relink, if not – just tell it which drive the media is on. You can also consolidate AMA (linked files) if they are on other servers or shares – again just tell the relink tool where the first media file is and the rest become online. If you want to put a project back when you get to work, just replace the work project file with the one from home and remove the external HDD – then tell it where the media is (which drive). If you added more media at home, then copy the latest files to the new media location if you want them online at work too.