
This is the third lesson in a series on mastering Avid Media Composer’s keyboard shortcuts and it’s on moving inside of Media Composer. Each lesson tackles a handful of shortcuts. Those shortcuts should be practiced until the next lesson in a few days. By the end of the lessons you should be flying through your editing sessions.
This isn’t just any old list of keyboard shortcuts in Avid. For many of them I explain how they work and how I use them everyday as a professional editor.
If you’re just getting started, no worries. You can take this lesson and circle back to the previous lessons. You can find all the lessons here.
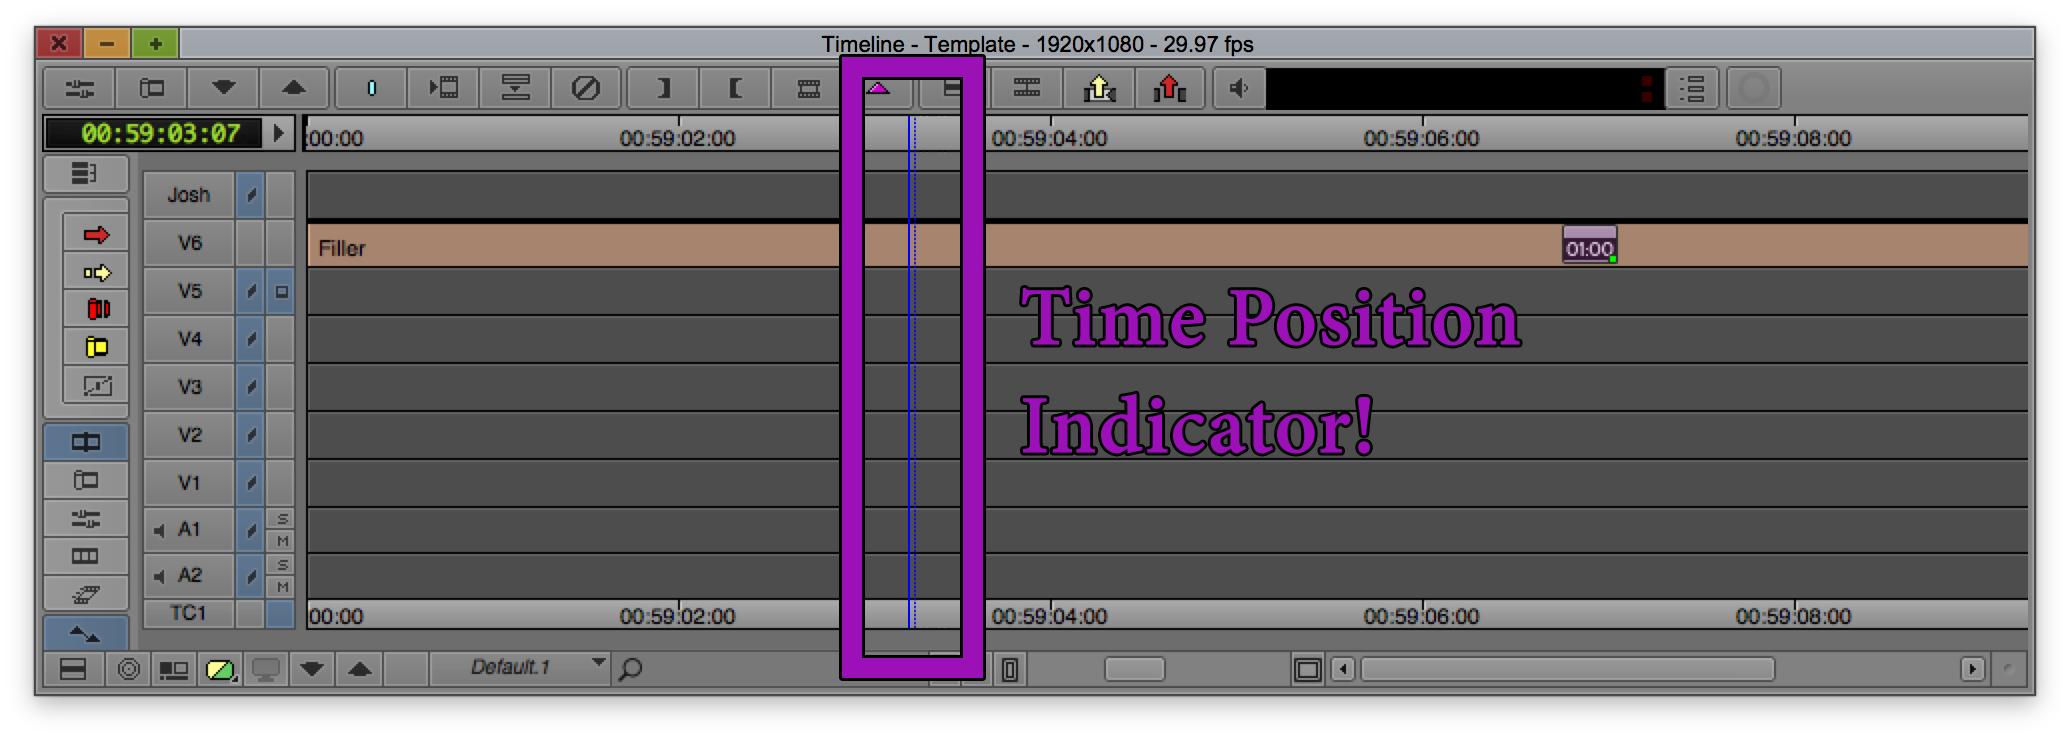
This lesson focuses on the moving keyboard shortcuts in Avid. By moving I mean having the Time Position Indicator (the blue bar in the timeline) go from one frame to another frame. There are a bunch of different keyboard shortcuts that do this for us faster and more accurately than clicking the mouse around the screen. Let’s get started!
Moving Keyboard Shortcuts
Go to Start of Timeline
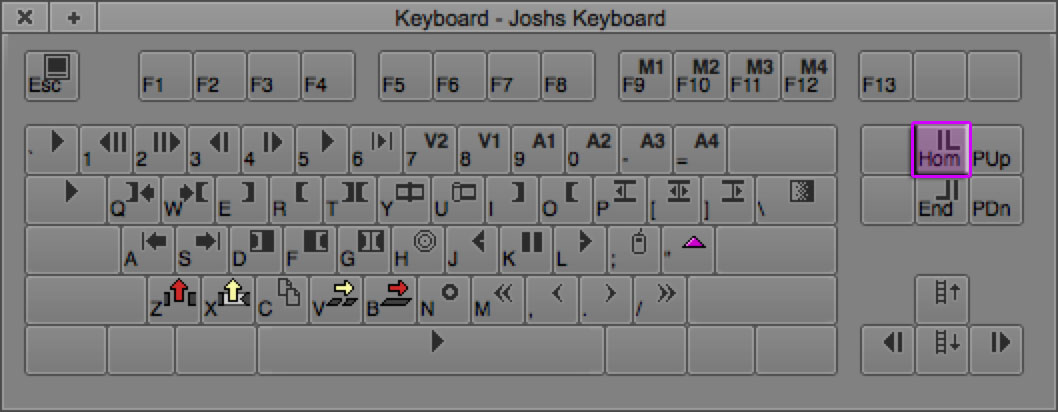
Shortcut: Home
Hitting the Home key will move the Time Position Indicator to the first frame of the timeline.
Go to End of Timeline

Shortcut: End
Hitting the End key will move the Time Position Indicator to the last frame of the timeline.
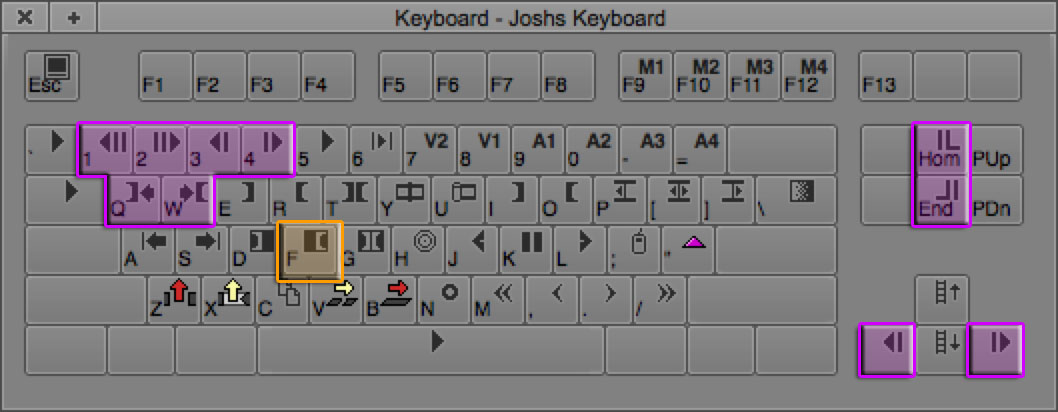
Step Forward 1 Frame
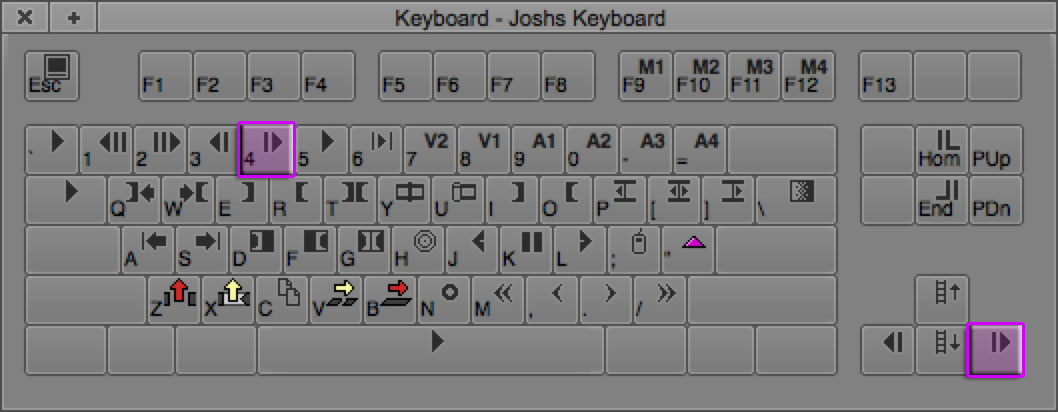
Shortcut: 4 (Top Row) and Right Arrow
Use 4 (top row, not number pad) or the Right Arrow to move the Time Position Indicator forward a frame. If you are at 01:03:22:10 you’ll move to 01:03:22:11.
Step Backward 1 Frame
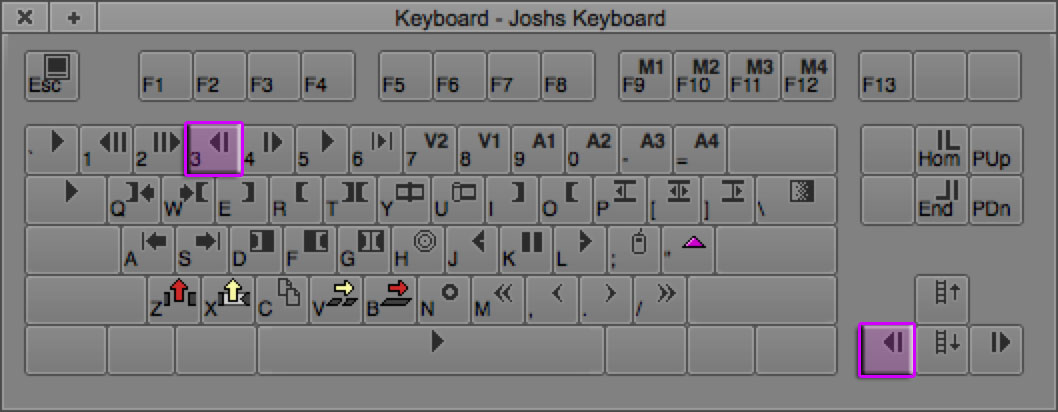
Shortcut: 3 (Top Row) and Left Arrow
Use 3 (top row, not number pad) or the Left Arrow to move the Time Position Indicator backward a frame. If you are at 01:03:22:10 you’ll move to 01:03:22:09.
Step Forward 10 Frames
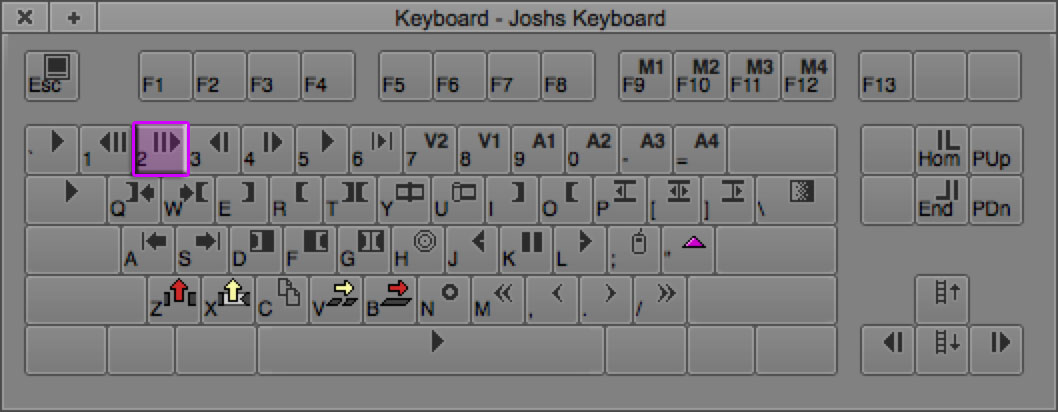
Shortcut: 2 (Top Row)
Use 2 (top row, not number pad) to move the Time Position Indicator forward 10 frames. If you are at 01:03:22:10 you’ll move to 01:03:22:20. I have Shift+Right Arrow mapped to also do this. Note this moves 8 frames when you are working in a 24fps (frames per second) project.
Step Backward 10 Frames
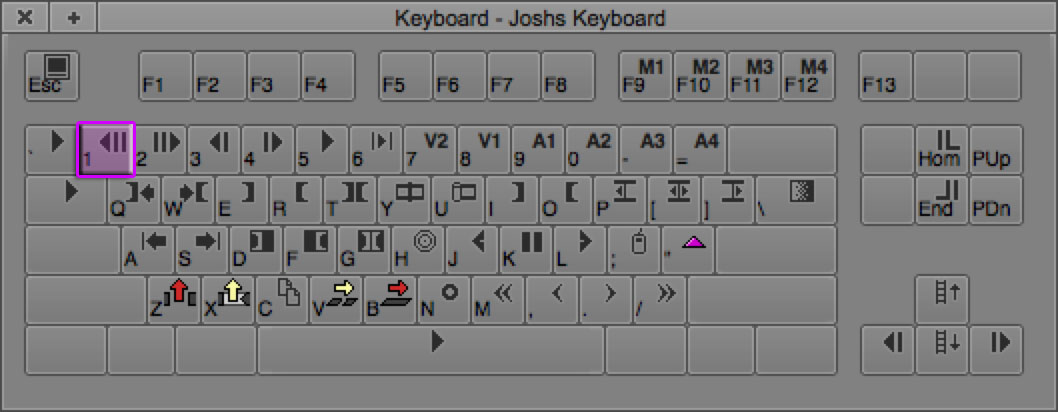
Shortcut: 1 (Top Row)
Use 1 (top row, not number pad) to move the Time Position Indicator forward 10 frames. If you are at 01:03:22:10 you’ll move to 01:03:22:00. I have Shift+Left Arrow mapped to also do this. Note this moves 8 frames when you are working in a 24fps (frames per second) project.
Go to In Point
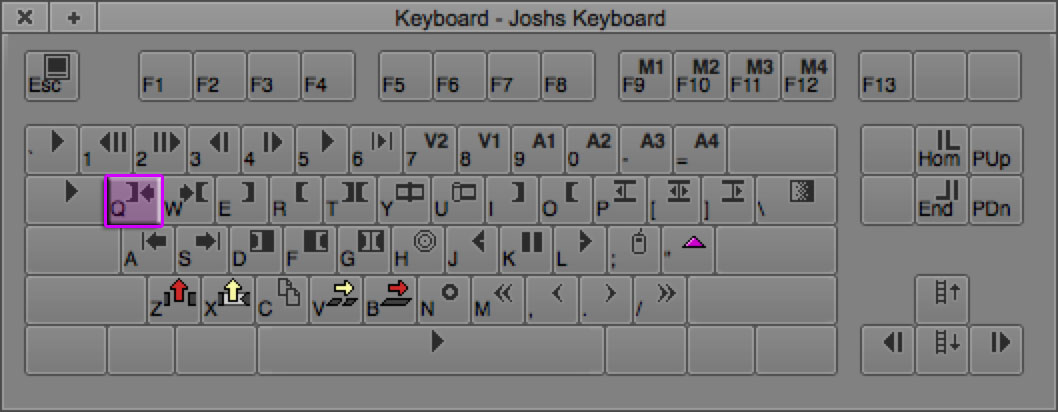
Shortcut: Q
Hitting Q will move the Time Position Indicator to an In Point if one is marked.
Go to Out Point
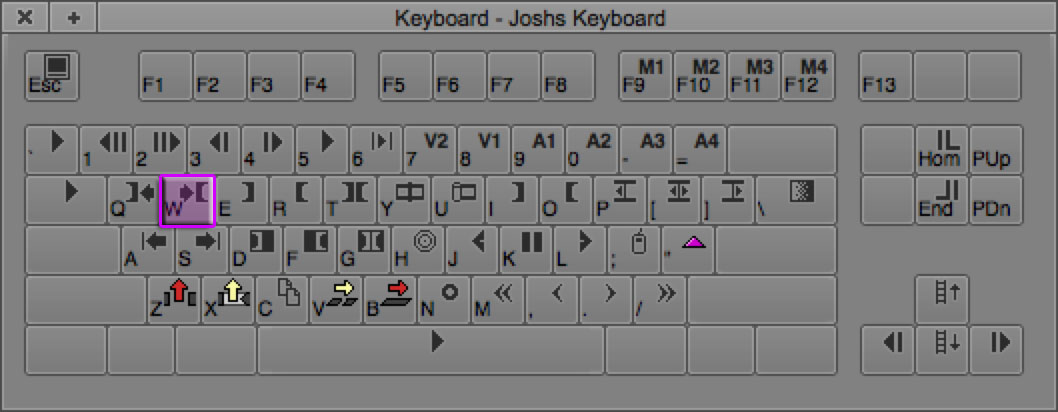
Shortcut: W
Hitting W will move the Time Position Indicator to an Out Point if one is marked.
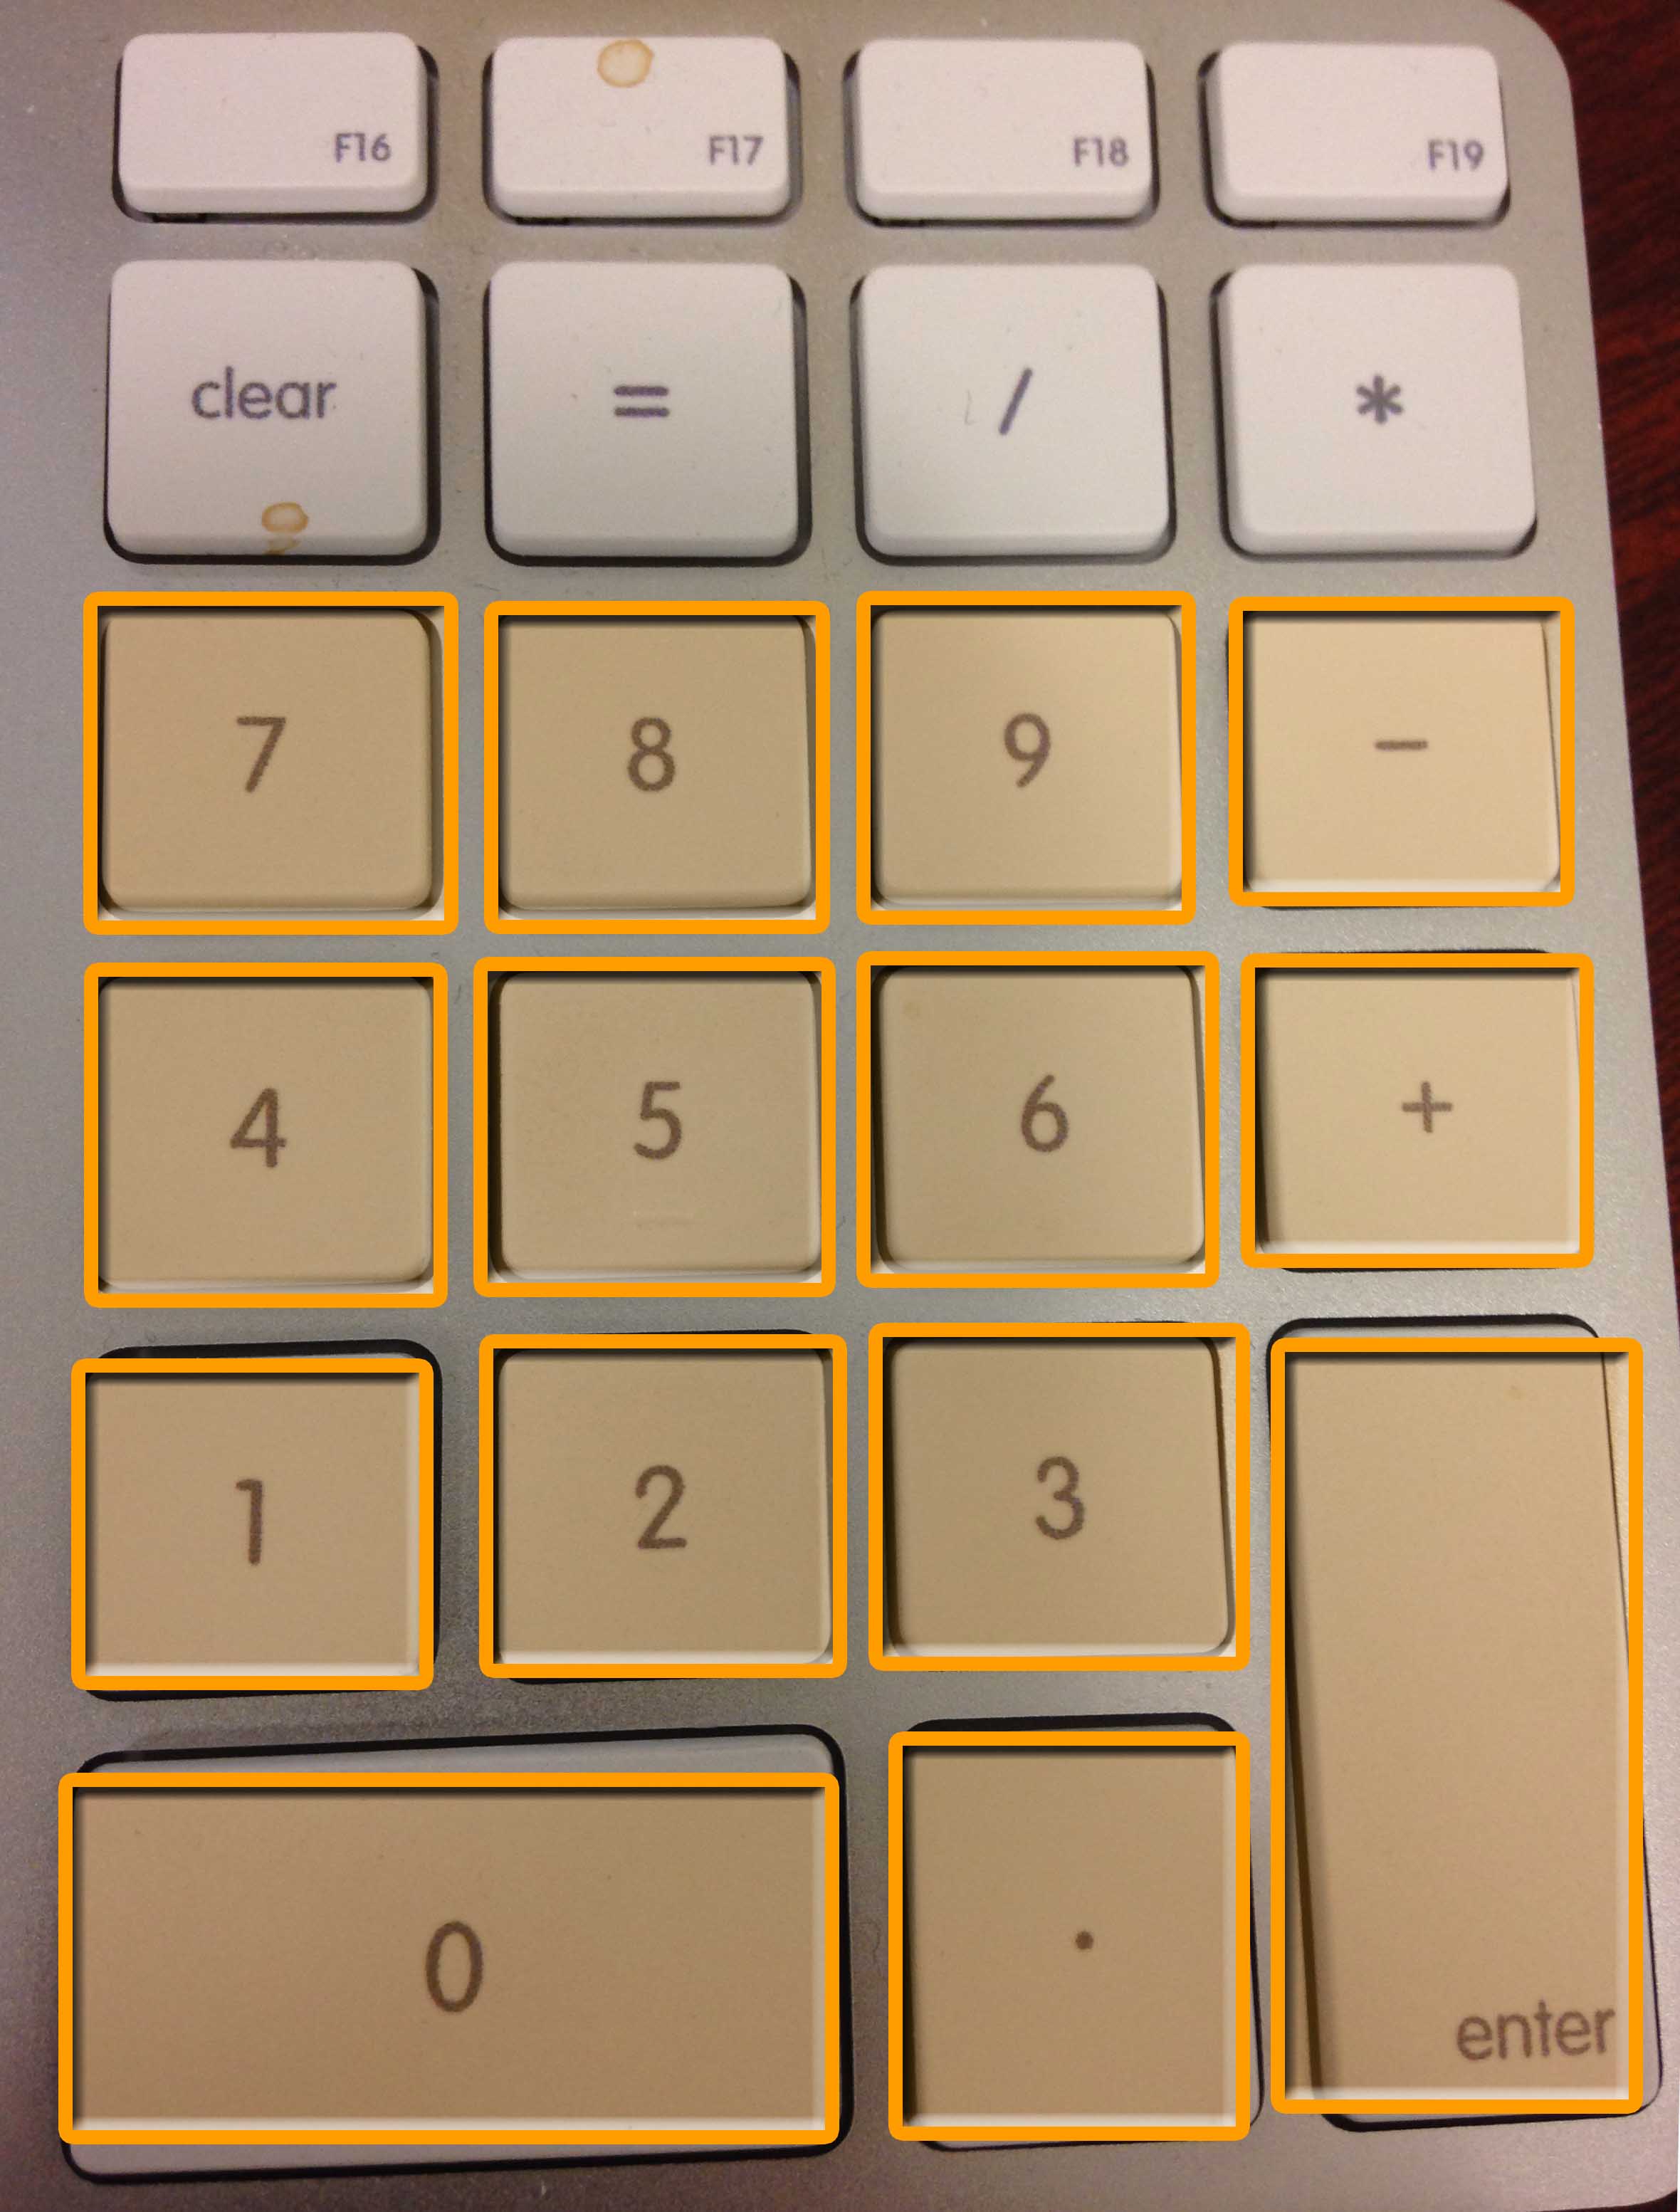
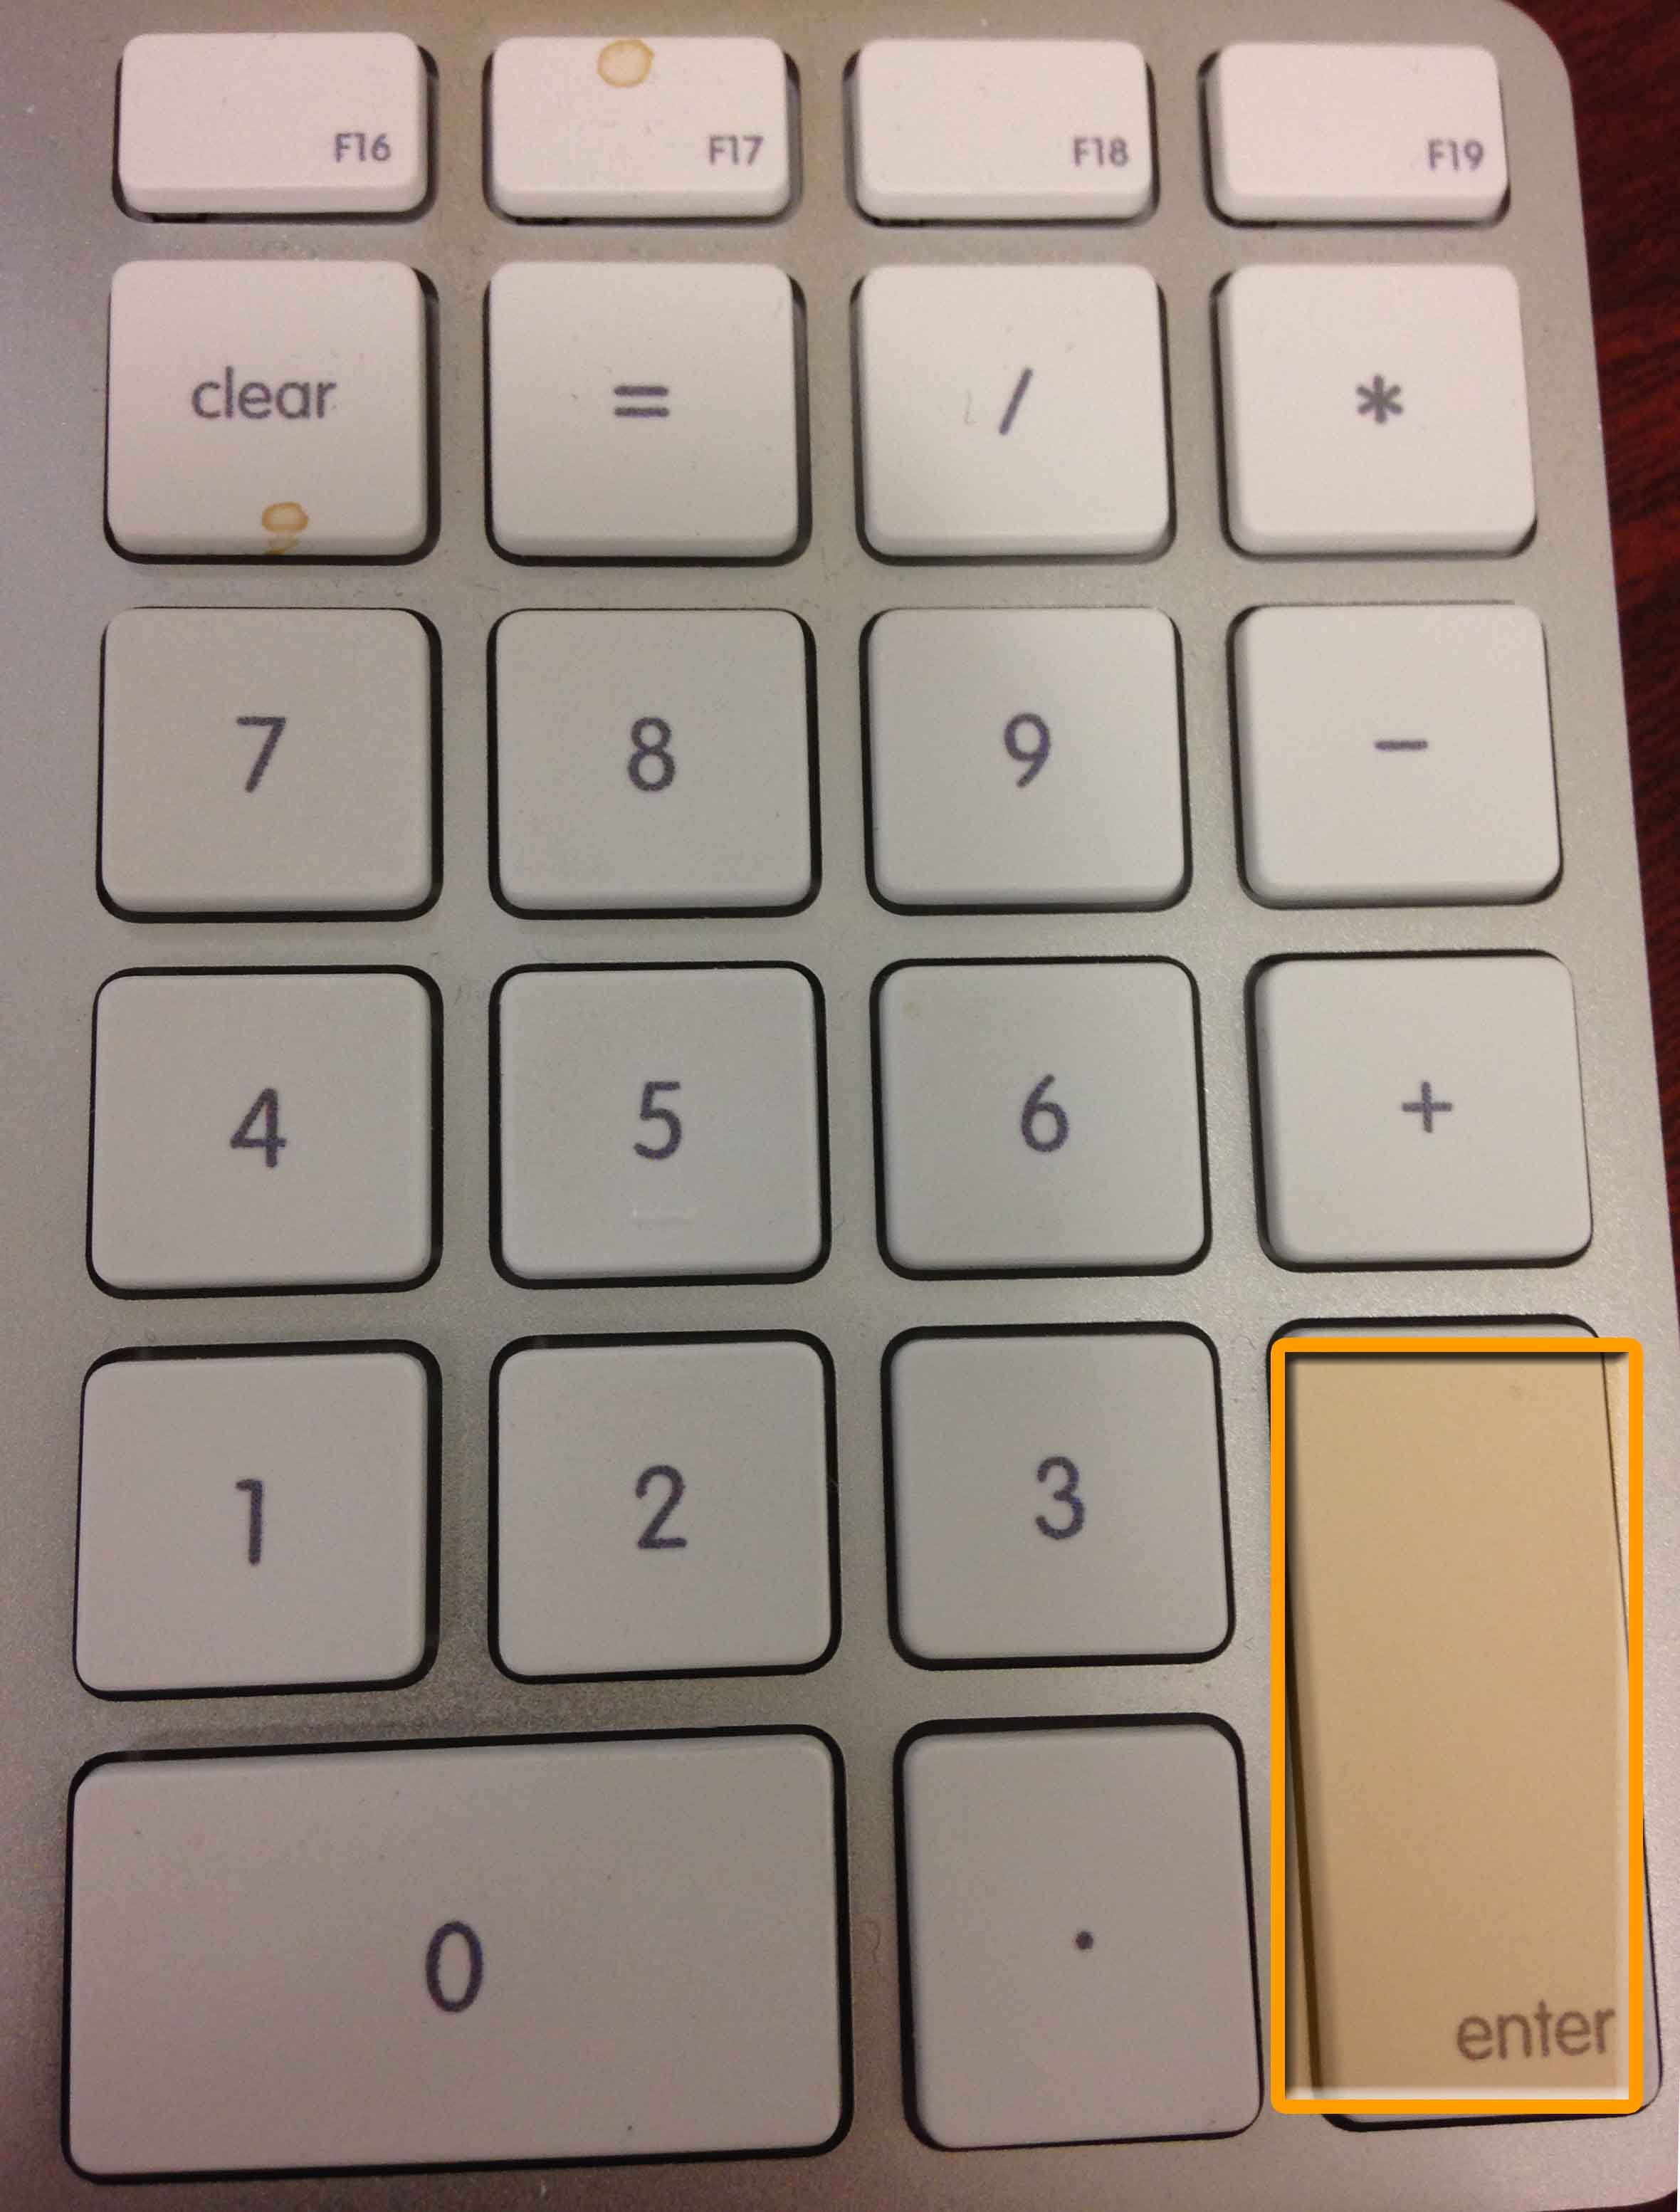
Moving Using the Number Pad Keyboard Shortcuts in Avid
The rest of these Avid keyboard shortcuts on moving in this lesson all take place on the number pad (please see my coffee-stained number pad as reference). From what I’ve seen new editors grossly underuse the number pad. It does require you wrap your head around how timecode works. If your curious or want a refresher I wrote a post about timecode’s importance. Okay…on with the shortcuts!
Jump to Specific Timecode
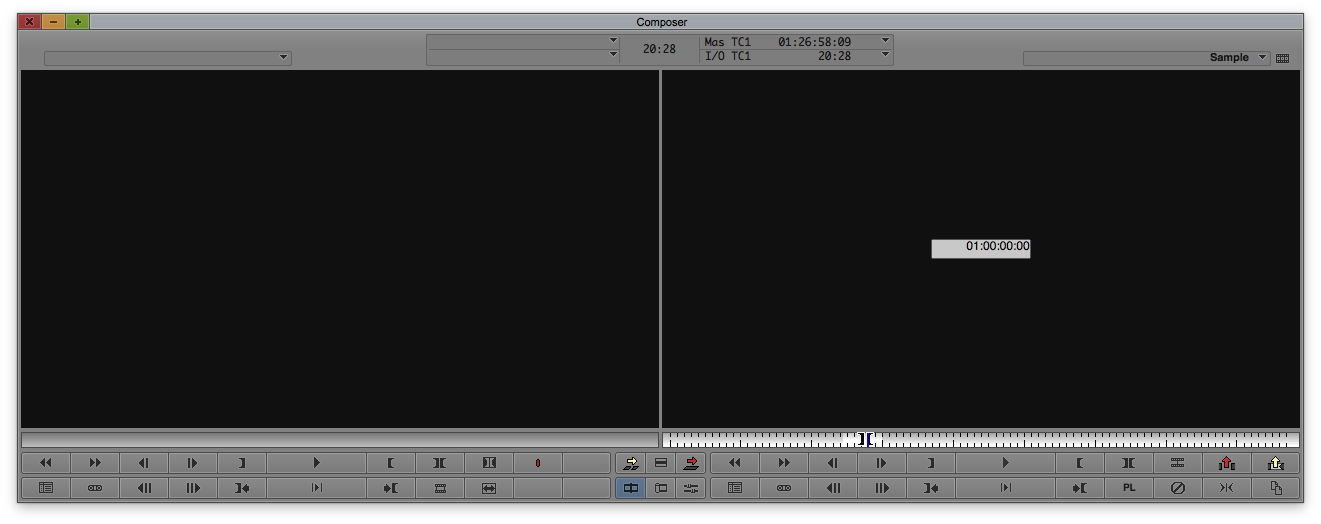
Shortcut: Number Pad Numbers + Enter
If you want to go to a specific timecode, type it in with the number pad and hit Enter. I start all my timelines at 00:59:00:00 and the first frame of video at 01:00:00:00. If I want to jump to the first frame of the video I type in 1+0+0+0+0+0+0+Enter. As you type the timecode appears in the Record Monitor (see image above).
Move Forward a Specific Timecode Amount
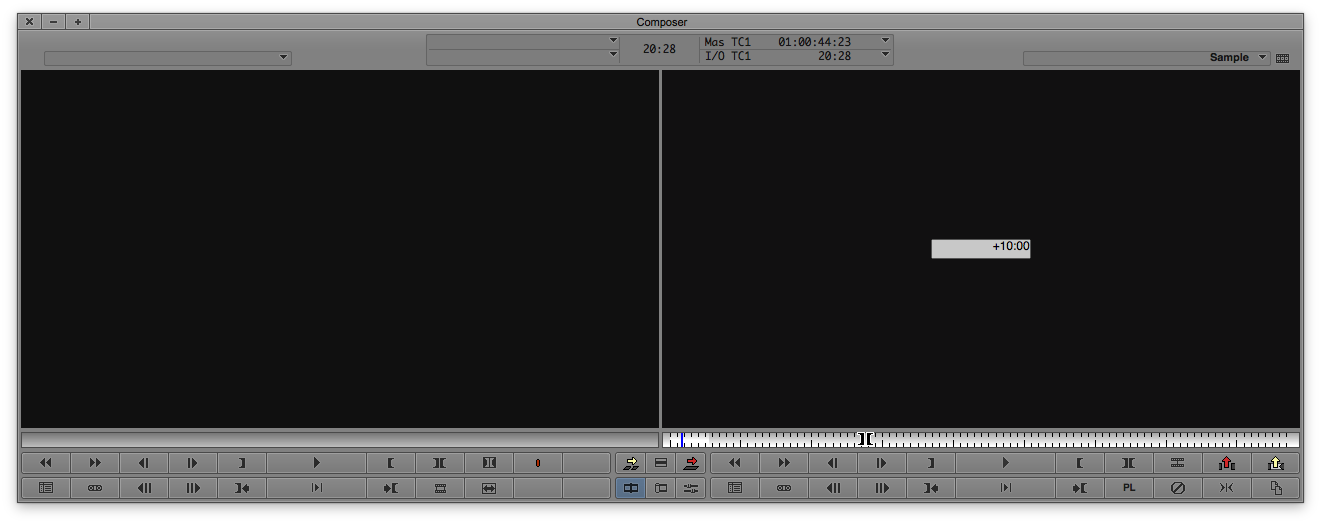
Shortcut: Number Pad Plus + Number Pad Numbers + Enter
If you want to move ahead, let’s say, 10 seconds type +1000.
Move Backward a Specific Timecode Amount

Shortcut: Number Pad Minus + Number Pad Numbers + Enter
If you want to move backwards, let’s say, 10 seconds type -1000.
Move Forward or Backward by Frame Amount
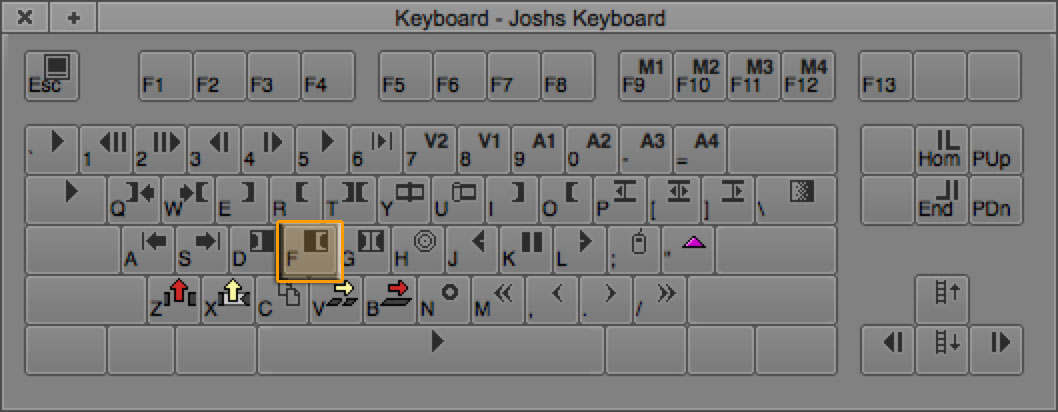
Shortcut: Number Pad Numbers + Number Pad Plus or Minus + F
That shortcut description makes it sound more complicated than it is. If you want to go move by a frame amount, let’s say 350 frames, type in Number Pad Plus+3+5+0+F. It’ll show up as “+11:20” (if you’re at 30fps) because that equals 350 frames. I don’t use this often but at least I know I have the option.
Double Zero Keyboard Shortcut
Shortcut: Number Pad Decimal Point
Hitting the Number Pad’s Decimal Point (AKA Period) will enter two zeros. So if you want to go to 01:00:00:00 you’d type in 1+.+.+.+Enter. It’s such a little thing but if you use the Number Pad to move around your timeline a lot like I do then all these little keystrokes add up over time (and isn’t that why you’re going through these lessons anyway?).
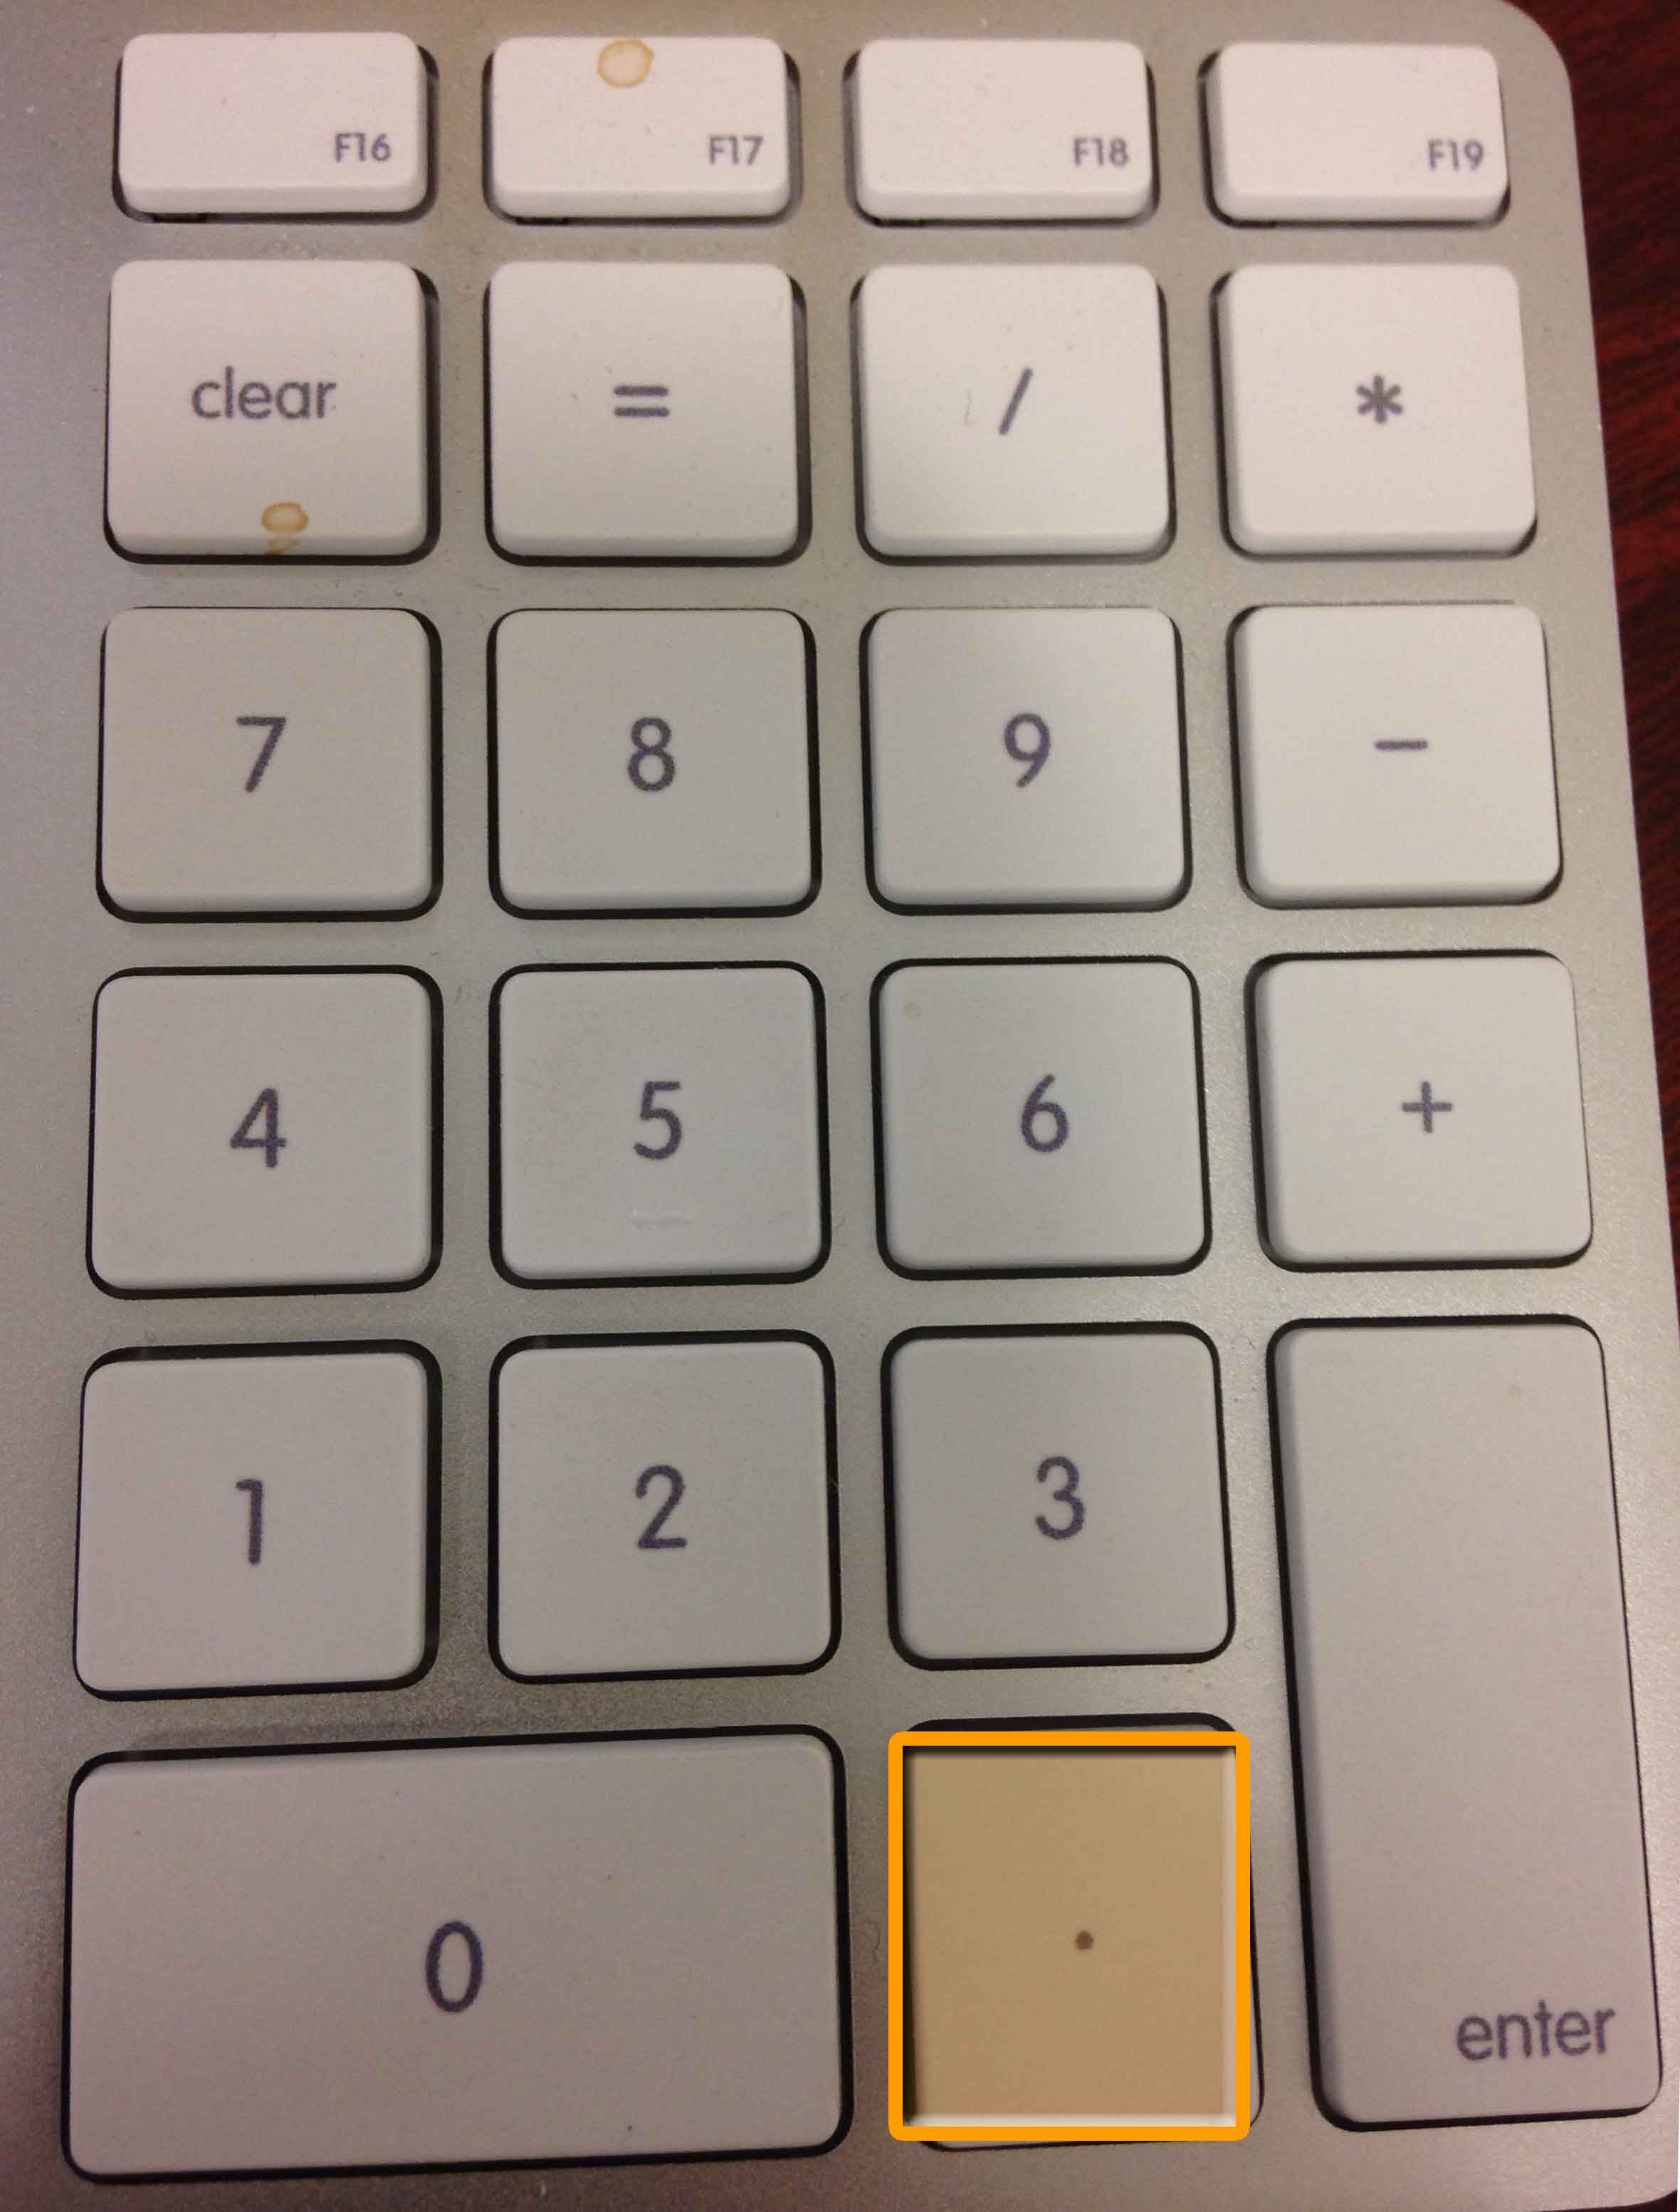
Move Again Keyboard Shortcut
Shortcut: Number Pad Enter
If you used Number Pad Plus or Minus to move the Time Position Indicator, if you hit the Number Pad Enter again you’ll move by that amount again. For example you can hit “+10000” to move forward by a minute. Then do whatever like add an In Point and Splice-In a clip. Then if you hit Number Pad Enter again you’ll move forward by a minute. Media Composer will let you keep moving by that minute until you type in another timecode on the Number Pad.
What’s Next?
That’s all the shortcuts for Lesson 3 of Mastering Avid Media Composer’s Keyboard Shortcuts on Moving. Ready for Lesson 4? Click here (or the image below) to go to it.
In order to get the most out of this lesson I need you to do a little practicing. Fire up a project in Media Composer and spend at least 30 minutes working on it using these shortcuts. Practicing them consistently is the only way for them to stick and ultimately make you a faster editor.
Make sure you’ve signed up to get emailed new posts here.
As always give me a shout if you have any questions. Leave me a comment below or through my contact page.
– Josh
Thanks for saving my life today
lol no problem! Happy to have helped!