
This tutorial will teach you how to add stroke to text in After Effects. You’ll also learn how to keyframe the stroke so you can change its color over time. And you’ll learn how to make your text display just a stroke so that the inside is see-through.
Just to make sure you’re in the right place, a stroke is a colored border or outline that surrounds text. And you’re looking to add a stroke to text in After Effects. Does that sound like what you’re trying to do? If so, read on!
Add a Stroke in After Effects Using the Character Panel
To begin, create your text layer in After Effects. Activate the Text Tool by using the keyboard shortcut Command+T if you’re on a Mac or Control+T if you’re on Windows. Then click in the Composition Panel to create a new text layer and type in your text. Change the font of the text as needed.
Next find the Character Panel. If you don’t see it, go under the Window Menu and choose Character.
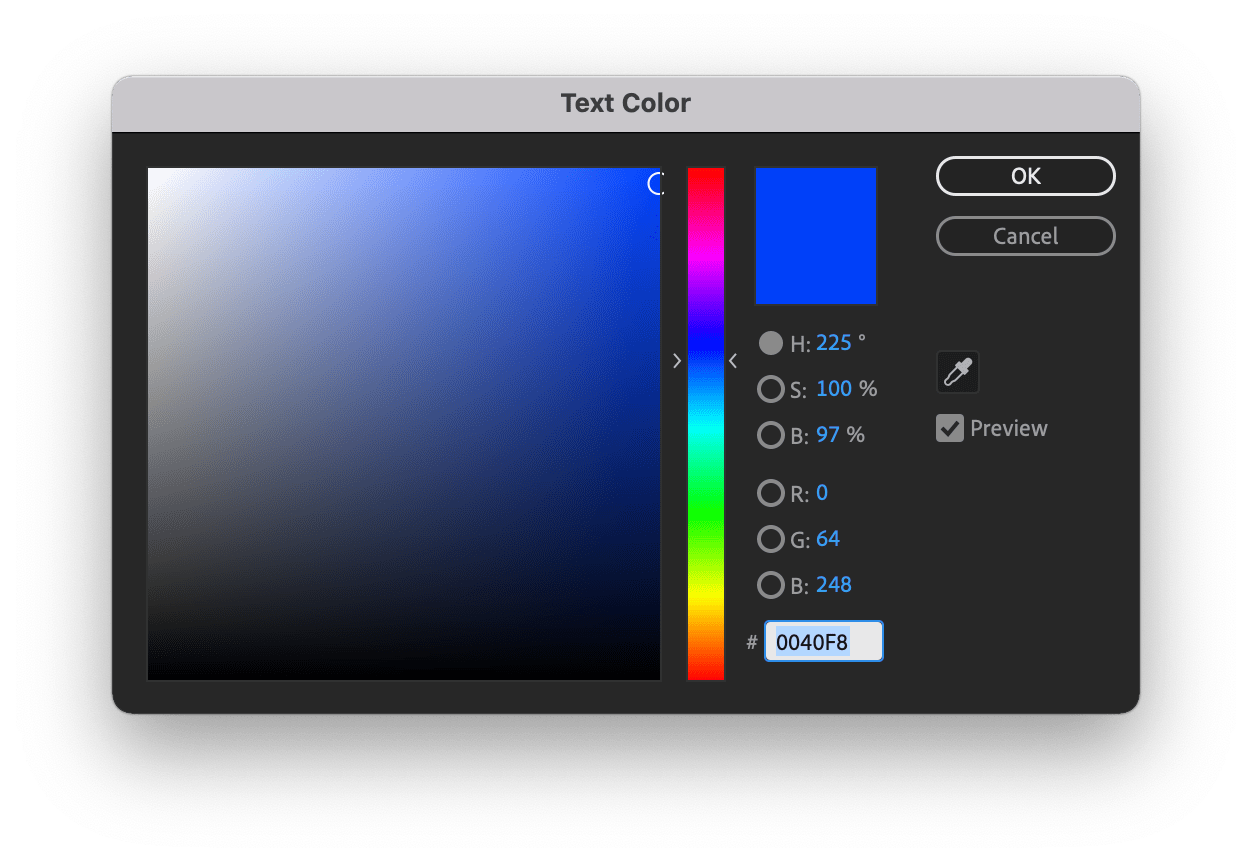
Setting the Stroke Color
In the Character Panel you’ll see two squares that overlap each other in the top-right corner of it. The solid square that’s more on the left side is what you use to select the color of the text. The other square, the one with the hole inside it, is the one you use to select the color of the stroke. This is the Stroke Color box.

Click on the Stroke Color box. Then choose the color of the stroke you want and click OK. Once you do this, this will add a stroke to your text layer in After Effects. You can change this color at any time if you want to try something else.
Interested in After Effects Templates? Check out my article diving into what they are and how to use them properly.
Stroke Size
Moving down the Character Panel, you’ll see an icon that looks like three horizontal lines. This number next to this icon determines the thickness of the stroke. Click the number and type in a new value.
Next to where you determine the thickness of the stroke there’s a dropdown for Fill Over Stroke or Stroke Over Fill. Fill Over Stroke places the stroke on the outside of the text and grows it outward. Stroke Over Fill does the opposite. Try these out for yourself. I typically only ever use Fill Over Stroke.
Make Hallow Text and Use a Stroke Only
If you want to make your text hallow or see-through and just have a stroke visible, you can do that in After Effects. Go back to those two boxes where you set the color of the text and stroke. If the Stroke Color box is on top of the Text Color box, click the Text Color box once. This will put it back on top of the Stroke Color box. I know, this is subtle and not self-explanatory.
Find the small white square with the red line going through it that’s touching these two boxes. Click it. The text is now invisible and you can only see the stroke.
To bring the color back, click in the Text Color box and select a new color.
To remove a stroke, it works the same way. Click on the Stroke Color box so it’s on top of the Text Color box. Then click the small white square with the red line going through it. That will remove the stroke from the text layer.
🎧 Do you need stock music? Check out my friends at Soundstripe. They have the best selection, pricing, and licensing out there. For 10% off a subscription use the code “EVF” at checkout.
Animate Stroke Color in After Effects
Like basically every property in After Effects, a stroke’s color can be keyframed and be changed over time.
In the Timeline Panel, twirl open the properties of the text layer with the stroke on it. You can do this by clicking the little “>” symbol next to the layer’s color label box.

On the Text line, there’s a triangle next to the word Animate. Click the arrow and from the menu that appears go to Stroke Color then choose RGB.
A few new properties will appear in the timeline now. Find Stroke Color and the red box to the right of it. Your stroke will have defaulted to red instead of whatever color it was before. Basically this new Stroke Color in the Timeline will supersede whatever Stroke Color is set in the Character Panel.

Click the red box to change the color of the stroke. Set a keyframe by clicking the Stopwatch icon next to Stroke Color. Move your Time Position Indicator to another point on the timeline and then set a new color by clicking the color box again. Selecting a new color will automatically create a new keyframe.
I sincerely hope that this tutorial helped you. If it did, please consider subscribing to my email newsletter. Do you have thoughts about how to add a stroke to text in After Effects? Leave them below in the comments!
– Josh
Any chance of making a video of this tutorial?
It’s actually high on my to-do list! I need some quiet time without my toddler running around while I try to record 😅
Great… But I was looking for text stroke with rounded corners, can this be done in AE?